|
| | Pot
holders
 26-30.06.06
|
I'm learning Tunisian crochet in a "TC-along"
with other Scandinavian women. It's really funny to learn new thing using
the web, we help each other in a forum for the gropu only. But now that I
know the basic stitches I want to create something on my own. The very
first thing I made was a "tissue cover",
but I had to try more.
I had some left-overs in cotton, I didn't like the colours so I never knew
how to use the yarn! Well, it was good enough to make some samplers. I
used my Tunisian crocket 3,5
(metal)
|
|
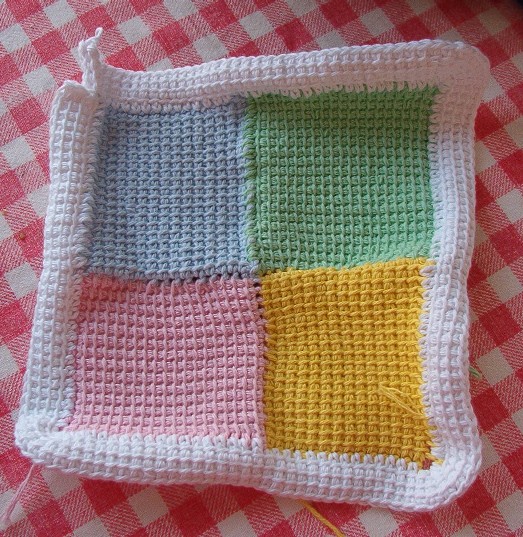
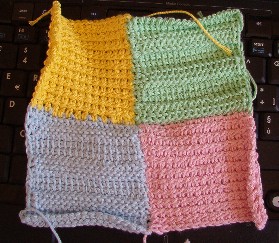
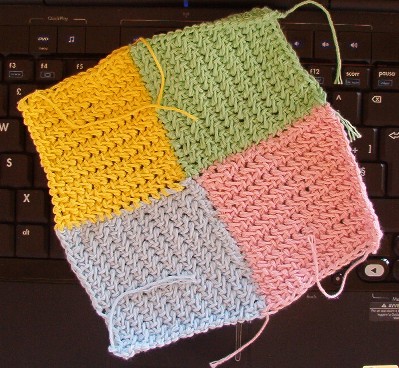
Here is my first - not really nice - attempt.
It's a kind of "domino-crochet". Sure other "invented"
this tecnique before me, but I found out myself, because I have no books,
only some indicationa about different stiches!
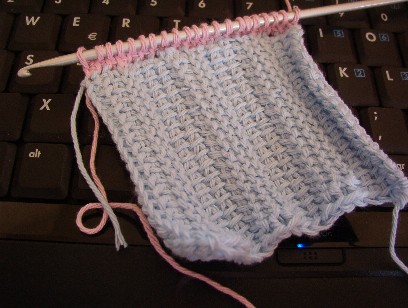
Begin with light blue:
ch 20 loosely
work a basic row
work a square with the kind of stitch you like to practice (Here Simple
Afghan Stitch/Tss).
When your square is finished, cut the yarn and pull through.
On the left side of your square, take up 20 new loops, and work the second
square. Do the same with the third square.
The forth square:
pick
up 20 loops as usual, but the very last loop must go through the first
(light blue) square. Repeat this every time you finish the row.
|
|
|
|
Joining....
|
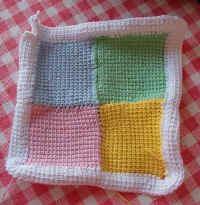
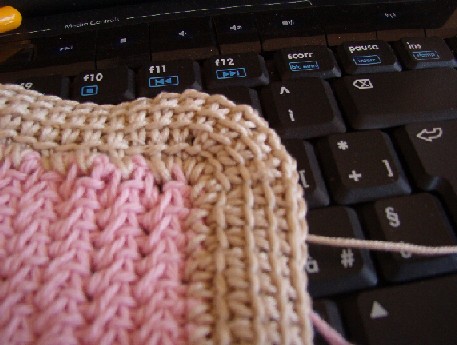
The trimming on my first Tunisian crochet pot
holder is not very nice. It's "4 normal rows" on two squares.
|
|
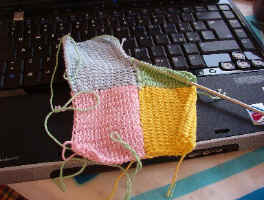
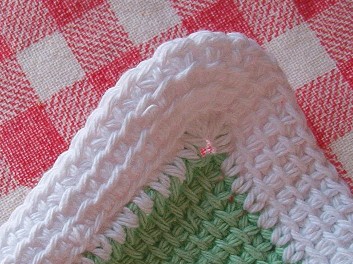
But while I made the second pot holder, I found out how
to make the trimming! Again Tss with 4 loops, joining the squares!
|
|
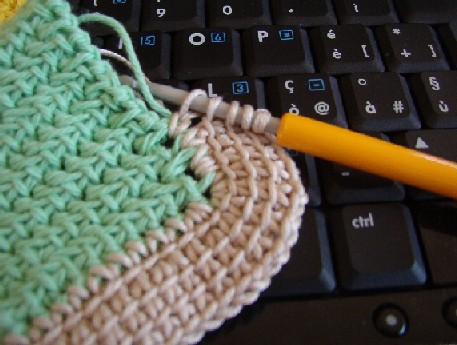
The first corner of the trimming-....
|
In the beginning I just repeated the rows in the
corner.
|
|
I finished the trimming, must join the two ends and
add a hang.
|
|
01-04.07.2006
|
|
Still trying....
|
|
|
|
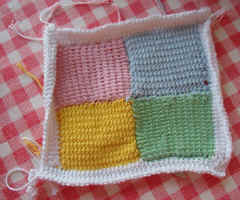
Making 3 rows with "purl" and 3 with TSss
The other two squares are made with "raised horizontal".
|
|
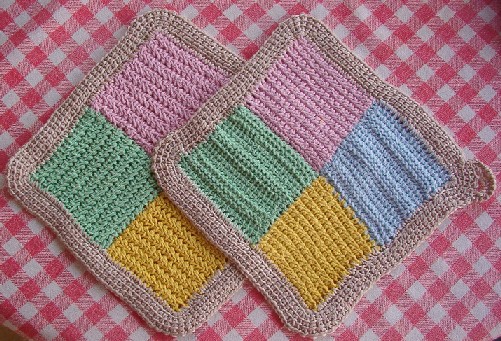
Fortunately I've got (almost) no
more of these left-overs... and I've got 4 new .... pot holders instead.
I used
"faggotted stitch" to all four squares, and I realise I must
crochet more and more.... ;-)) They are not that regular as I should like
to make them!
|
|
|
My trimmings are getting better I think, and after
this corner in which I
|
|
|
simply crochet several
rows in the same corner-loop....
|
|
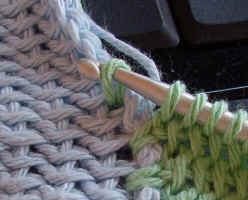
....I realised what to do in the next corner! And
until now I think that its the very best way!
Also this is my own "invention", but I'm sure there must bw some
other who realizes as I did, how to do! Anyway I did it on my own.... Begin
to crochet the corner in the next but last loop before the corner
I made 2 rows - a
& b
- in the same loop.
Remember: all the corner-rows begin with a ch on the right side!
a) 3 Tss, 1 ch through the main piece (here green),
Backrow: 1 ch (as in photo), then y through 2 loops as usual
b) 3 Tss, 1 ch through the main
piece, but go through the first loop on the hook (e.g.
without making an extra.
In
the corner-stitch I repeated row b three times and the the first stitch an
the next side I made b & a.
|
|
|
Finally....
|
|
|

|
Simon & Garfunkel: Bridge
over Troubled Water


Data di composizione di questa
pagina: 4th July 2006
| |
|